
Office Address
131 Moat lane Yardley,
Birmingham ,B26 1tw
Phone Number
(+1) 630 2015747
(+44) 770 0100316
Email Address
info@zisconsultants.com
131 Moat lane Yardley,
Birmingham ,B26 1tw
(+1) 630 2015747
(+44) 770 0100316
info@zisconsultants.com


In the fast-paced world of e-commerce, maintaining proper financial records is required. Combining Shopify with QuickBooks simplifies this process, confirming that your sales, expenses, and inventory data are smoothly reconciled. This article provides a detailed guide on how to reconcile Shopify in QuickBooks, covering everything from initial setup to problem-solving common issues.
Reconciling Shopify with QuickBooks is important for e-commerce businesses to make sure proper financial management. The Connection between Shopify and QuickBooks helps in maintaining exact records of sales, expenses, and inventory, which are important for making informed business decisions. Proper financial data allows businesses to track performance, identify trends, and make strategic decisions to drive online business growth. Furthermore, a smooth Connection lessens the time and effort required for manual data entry, minimizing the risk of errors and differences.
In this guide, Shopify store owners will learn about the requirements for Connection, detailed steps to connect Shopify with QuickBooks, the reconciliation process, and best practices to maintain proper records. Additionally, we will address common issues and provide solutions, along with useful resources for further aid.
Before store owners start the integration process, ensure that they have the below requirements to integrate Shopify with QuickBooks:
Before the integration process, confirm that you are using the most up-to-date versions of both Shopify and QuickBooks. The latest versions provide connection and key to the latest features and security updates. You can check for updates within the settings or account management sections of both platforms.
Before reconciling Shopify in QuickBooks, Make sure you have organizational rights for both your Shopify and QuickBooks accounts. An administrative permit is necessary to authorize the integration, configure settings, and manage data coordination. Without these permissions, you may experience issues during setup and ongoing reconciliation.
Recommended: Shopify vs QuickBooks
Have a thorough understanding of how online businesses track and manage financial transactions. The business financial workflow includes knowledge of online sales processes, expense tracking, inventory management, and any unique financial procedures the business employs. Understanding business workflow will help you configure the connection settings properly and provide real data matching between Shopify and QuickBooks.
By ensuring these requirements are met, you'll be well-prepared to begin the integration process and set a solid foundation for smooth reconciliation between Shopify and QuickBooks.
Recording Shopify sales in QuickBooks Online requires a systematic approach to make sure proper financial management. Here are the detailed steps to help you set up and integrate Shopify with QuickBooks Online effectively:
Start by logging into your Shopify account using your official documents.
Guide to your account dashboard, where you can manage settings and install apps.
Similarly, log into your QuickBooks Online account with administrative access.
Ensure you are in the correct company file that you wish to integrate with Shopify.
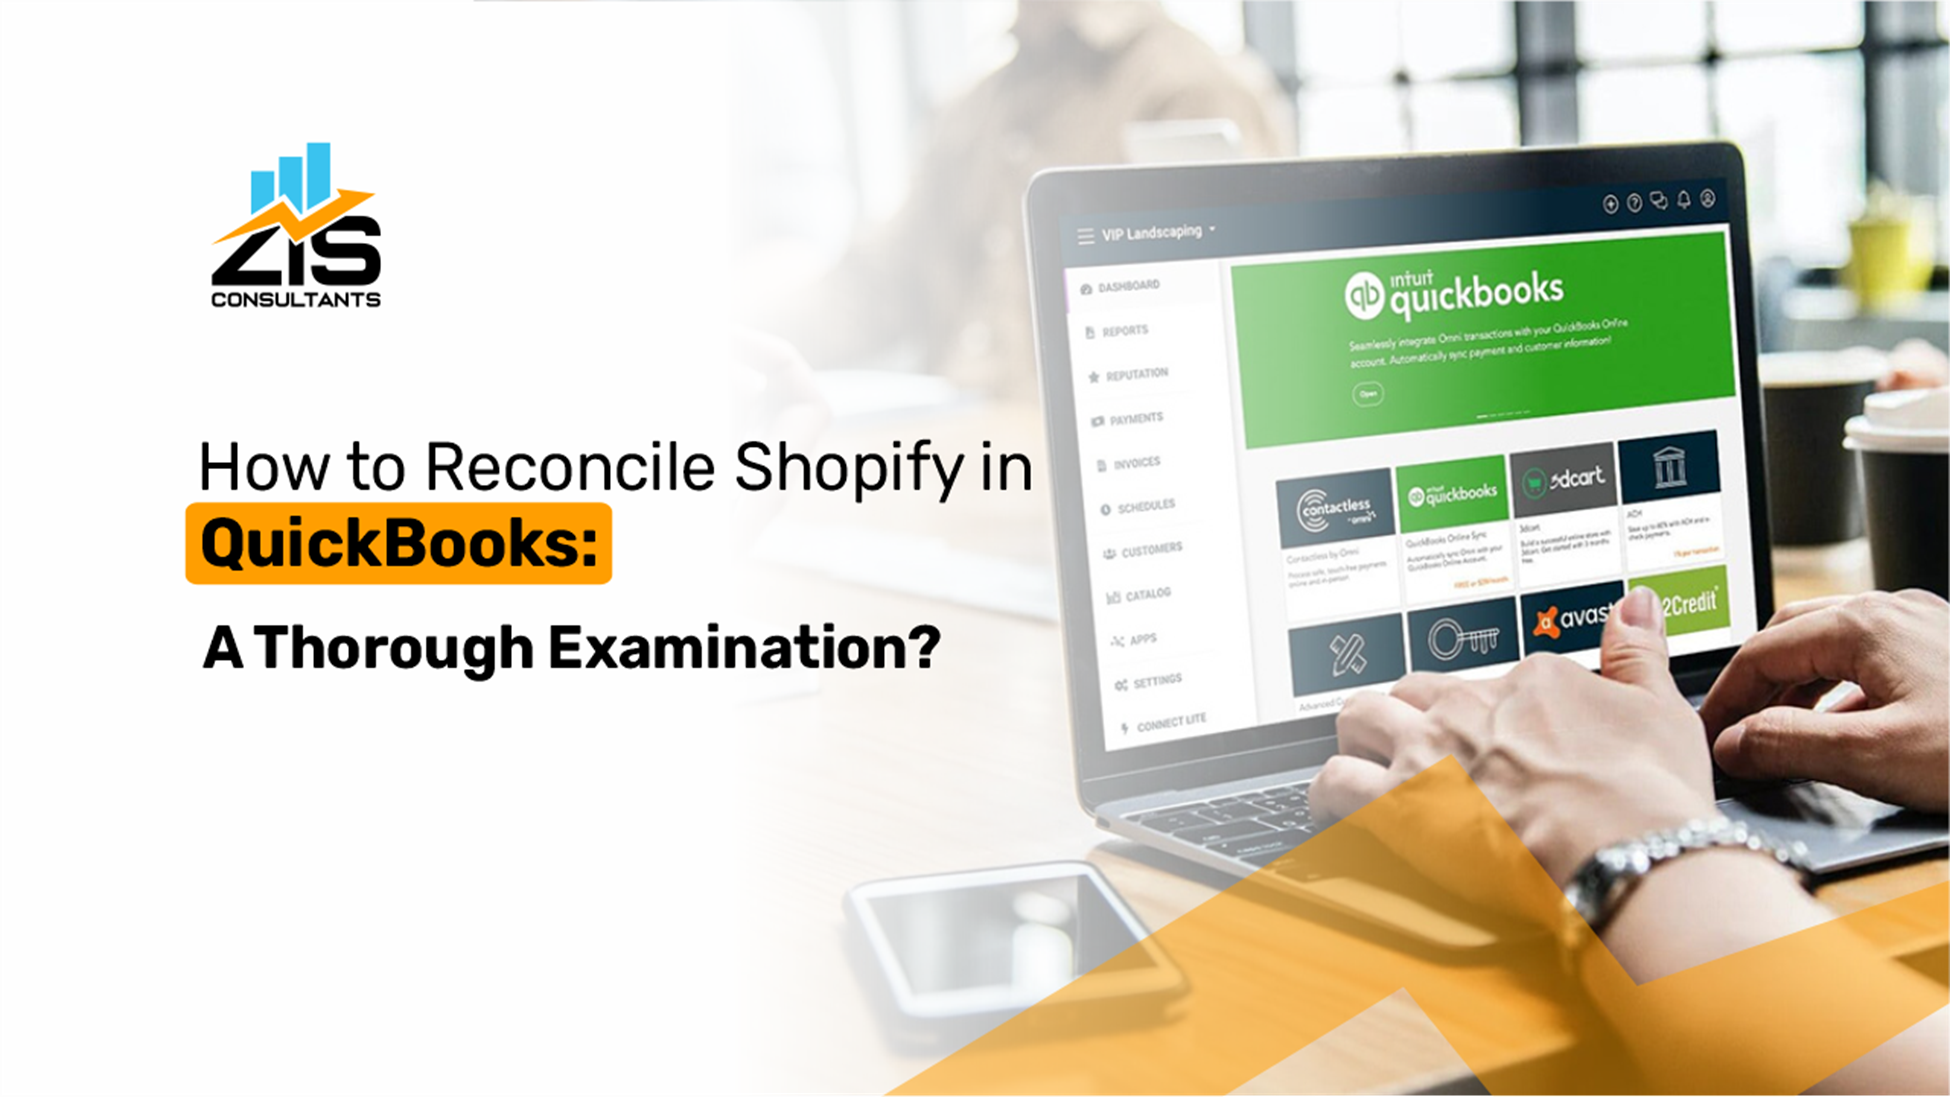
Visit the Shopify App Store and search for apps that connect Shopify with QuickBooks. Popular options include "QuickBooks Online by OneSaas" or third-party connectors like "QuickBooks Connector" by Bold or "A2X for Shopify."
Choose an app that fits your specific needs and has good reviews for reliability and customer support.
Follow the installation instructions provided by the app. Installing new plugins or apps usually involves adding the app to your Shopify store and then authorizing it to access your QuickBooks account.
Arrange the app settings to specify how data should be coordinated between Shopify and QuickBooks. This may include mapping Shopify products to QuickBooks items, setting up automatic data sync schedules, and selecting which data types (e.g., orders, refunds, inventory updates) should be transferred.
Within QuickBooks, review your chart of accounts to ensure you have the right accounts set up for conducting e-commerce transactions. A review of chart accounts typically includes accounts for sales income, cost of goods sold (COGS), inventory, and various expense categories related to your e-commerce operations.
Configure your sales tax settings in QuickBooks to match the tax rates and rules applicable to your Shopify store. Sales tax settings ensure that tax data from Shopify will be correctly recorded in QuickBooks.
Hire Us for Your Tax Planning Services
Confirm that your payment methods are properly set up in QuickBooks to manage the various payment interfaces used in Shopify (e.g., credit cards, PayPal, etc.).
Recording Shopify sales in QuickBooks Desktop requires a detailed process to ensure accurate financial management. Here are the steps to help you connect Shopify with QuickBooks Desktop and record sales effectively:
QuickBooks Desktop does not offer built-in connections with Shopify. Therefore, you will need to use a third-party connection tool.
Consider using connection apps like QuickBooks Connector by Intuit, A2X for Shopify, or other respected connectors available on the Shopify App Store or QuickBooks App Store. Connecting apps facilitates the integration between Shopify and QuickBooks Desktop.
Visit the Shopify App Store or QuickBooks App Store and search for your selected integration app. Read reviews and check ratings to ensure the app is trustworthy.
Click on the app you’ve chosen, then click "Add App" to start the installation process. Follow the on-screen instructions to complete the installation.
During installation, you will be encouraged to connect your Shopify and QuickBooks Desktop accounts. Connecting accounts typically involves logging into both accounts and giving the app permission to access your data.
Follow the security signals to allow the integration. Ensure you are logged in as an administrator for both Shopify and QuickBooks to avoid any permission issues. If either platform uses two-factor authentication (2FA), complete the step to finalize the authorization.
Configure your choices for how data should sync between Shopify and QuickBooks. Data connections include selecting which data types (e.g., orders, products, customers) should be coordinated.
Set up how sales data and taxes from Shopify are recorded in QuickBooks. Ensure that tax settings in both platforms are matched to avoid differences.
Recommended: Does Shopify Report to the IRS?
Set up inventory syncing to keep stock levels consistent between Shopify and QuickBooks. Inventory management helps in accurate inventory tracking and management.
Map Shopify payment gateways (e.g., credit cards, PayPal) to the corresponding accounts in QuickBooks to ensure payments are correctly recorded.
Once the settings are configured, initiate the first sync between Shopify and QuickBooks. The initial sync step is necessary for importing all existing data, including past orders, inventory levels, and customer details.
After the initial sync, review the imported data in QuickBooks to ensure it is accurate. Check for any differences in sales, inventory, and customer information.
Make any necessary adjustments in the settings or manually correct data differences to ensure that future syncs are correct.
By carefully following these steps, you will establish a smooth and efficient integration process, ensuring accurate and consistent financial data recording between Shopify and QuickBooks Desktop. Adjustment of settings will help maintain accurate financial records, simplify your accounting process, and support informed business decisions.
Recommended: Outsource Accounting for Startups
To confirm that users can follow the connection process smoothly, it's important to provide clear and detailed visual aids. Here's how you can do that:
Capture screenshots showing how to log into both Shopify and QuickBooks. Highlight necessary fields, buttons, and any security signals that users might encounter.
Provide screenshots of the Shopify App Store or QuickBooks App Store, showing how to search for and select the connection app. Include images of the installation steps, such as clicking "Add App" or “Install.”
Show screenshots of the approval process, including any approval requests and two-factor authentication steps.
Capture clear screenshots of the settings pages in both Shopify and the integration app.
Highlight fields for data coordination preferences, sales, and tax settings, inventory settings, and payment methods.
Include screenshots of initiating the initial sync, showing improvement bars, confirmation messages, and any summary screens that display the imported data.
If possible, create a step-by-step video tutorial that leads users through the whole integration process. Use screen recording software to charge each step, from logging in and establishing the app to configuring settings and performing the initial match.
Implant the video directly into an article or provide a clickable link to an external video hosting platform like YouTube or Vimeo.
Use voiceover storytelling to explain each step as it’s being performed. Add text explanations and highlights to draw attention to important fields, buttons, and actions.
Include sections in the video that address common issues and how to resolve them, such as managing matching errors or adjusting settings for better accuracy.
By combining these visual aids, you make the connection process more convenient and easier to understand for users. Screenshots provide a clear visual connection, while a video tutorial offers a comprehensive, step-by-step walkthrough that can help users follow along at their own pace.
Reconciliation is an important step in ensuring that your financial records are correct and up-to-date. The reconciliation process involves matching your Shopify data with the records in QuickBooks to ensure character and correctness.
Start by checking your Shopify sales reports. Sales Reconciliation reports provide detailed information about each transaction, including the date, amount, customer details, and payment method.
In QuickBooks, access the sales records and compare them with your Shopify sales reports. Look for any differences in the transaction amounts, dates, and customer information.
Match each Shopify sale to a corresponding transaction in QuickBooks. Checking for divided payments, discounts, or refunds that could affect the recorded amounts might be required.
Make adjustments in QuickBooks as necessary to ensure that all sales transactions from Shopify are correctly recorded. Adjustments might include manually entering missing transactions or correcting any errors.
Identify all expenses related to your Shopify store, such as transaction fees, shipping costs, and any other e-commerce-related expenses.
In QuickBooks, create expense entries that coordinate with these Shopify-related costs. Ensure that each expense is ordered correctly to remember its nature (e.g., shipping costs, transaction fees).
Regularly update QuickBooks with new expenses as they occur. Expense tracking helps maintain an exact record of your e-commerce expenses and confirms that your financial statements remember the true cost of running your Shopify store.
Reconcile these expenses by comparing your Shopify financial reports with your QuickBooks expense entries. Confirm that all costs recorded in Shopify are accounted for in QuickBooks.
Recommended: Best Way to Track Small Business Expenses
Regularly review your Shopify inventory levels to ensure they are correct and up-to-date. Shopify provides stock reports that show the current stock levels for each product.
In QuickBooks, compare the inventory levels recorded against those in Shopify. Inventory management includes checking the quantities on hand, stock levels, and any recent inventory adjustments.
Adjust your QuickBooks inventory records to match Shopify. Adjustment might involve entering new inventory purchases, recording sales, or adjusting for damaged or lost items.
Implement a routine inventory reconciliation process to maintain proper stock levels. Regularly moderating inventory helps control stock outs and overstock situations, ensuring efficient inventory management.
By carefully following these reconciliation steps, you can maintain proper and constant financial records, which are necessary for effective business management and decision-making.
Maintaining proper financial records requires constant monitoring and verification. Regularly comparing your Shopify data with QuickBooks helps identify and correct differences early. Set a regular schedule, such as weekly or monthly, to review your sales, expenses, and inventory data. During these checks, look for unsuitable transaction amounts, missing entries, or incorrect categorization. By catching and resolving differences quickly, ensure that financial statements are correct and trustworthy.
Manual data entry is time-consuming and likely to cause errors, which can lead to incorrect financial records. Utilizing automated tools and integration apps can significantly reduce the risk of errors. Automated tools coordinate data between Shopify and QuickBooks, making sure that sales, expenses, and inventory updates are always and correctly recorded. Automation not only saves time but also improves the accuracy and completeness of your financial records, providing a more dependable basis for business decisions.
Recommended: Will Bookkeeping Be Automated
Common Issues and How to Fix Them
Data differences often occur when Shopify and QuickBooks are not matched in terms of time zones or currency settings. Data differences can lead to distinctions in transaction dates and amounts. To fix this, go to the settings in both Shopify and QuickBooks and verify that they are set to the same time zone and currency. Character in these settings ensures that all transactions are recorded correctly and matched correctly across both platforms.
Coordination issues can occur due to poor internet connectivity or insufficient approvals granted to the connections app. To resolve sync errors, first, ensure that you have a stable internet connection. Next, check the permissions settings for the connections app in both Shopify and QuickBooks. Make sure that the app has the necessary key rights to read and write data in both systems. If permissions are limited, the app may not be able to perform the coordinating correctly. Adjust the permissions as needed and retry the match process.
Both Shopify and QuickBooks offer vast support resources to help you problem-solve issues and optimize your connection. The support centers provide a wealth of information, including detailed guides, FAQs, and tutorials on various aspects of using and integrating their platforms. If you meet specific problems, you can search for solutions in the support articles or reach out to their customer service teams for personalized service. Using these official resources ensures you receive proper and up-to-date information adapted to your needs.
Hire Us for Your Bookkeeping Services
In addition to official support, joining e-commerce platforms and online communities can be extremely beneficial. Platforms like Reddit, Shopify Community, and QuickBooks Community are filled with professional users who share their knowledge and solutions to common problems. Experiencing these communities allows you to ask questions, learn from the experiences of others, and discover best practices for combining Shopify with QuickBooks. E-commerce forums often provide practical, real-world advice that can complete the official support resources, helping you guide any challenges you might face.
Setting a regular reconciliation plan is important for staying on top of your financial data. Perform reconciliations weekly or monthly to ensure that your sales, expenses, and inventory data are correctly reflected in both Shopify and QuickBooks. Uniform reconciliation helps identify and resolve differences early, stopping minor issues from becoming significant problems. Regular reconciliations also provide a clear, up-to-date picture of your business's financial health, helping in better decision-making.
Confirm that every transaction, including sales, expenses, and inventory changes, is carefully noted. Detailed records provide a clear audit path, making it easier to track and verify financial data. Proper records are required for preparing financial statements, filing taxes, and managing your business actually.
Keep both QuickBooks and Shopify software up-to-date to take benefit of the latest features, security updates, and bug fixes. Regular updates help maintain suitability between the two platforms, reducing the likelihood of coordination issues and providing smooth integration. Updated software also improves performance and dependability, contributing to the overall correctness of your financial records.
For further help and clear guidance, you can refer to the following resources:
Shopify help center can provide a wealth of information on managing your Shopify store, including step-by-step tutorials, problem-solving tips, and best practices for combining with other platforms like QuickBooks.
The QuickBooks support center offers complete guides, FAQs, and customer service to help you guide any challenges you may face with QuickBooks, particularly in relation to e-commerce integration.
If you find yourself needing more personalized service, consider hiring a professional accountant or a QuickBooks expert. These professionals can provide adapted advice and support to make sure that your integration is smooth and your financial management is as efficient and authentic as possible.
Reconciling Shopify with QuickBooks is required for proper financial management in your e-commerce business. This integration makes sure that sales, expenses, and inventory data are correctly matched, providing a clear and exact picture of your financial health. By following detailed steps and utilizing problem-solving tips, you can perform a smooth connection, minimizing errors and differences. Regular reconciliation and proper record-keeping are important practices that support informed decision-making and business growth.
Starting the integration process today will help you simplify your financial operations, save time, and improve accuracy. Adopt these best practices to improve the efficiency and dependability of your e-commerce financial management.
Yes, you can manually reconcile Shopify transactions in QuickBooks by reviewing and matching each transaction from your Shopify sales reports with the corresponding entries in QuickBooks.
Common issues include data mismatches, sync errors, and incorrect tax or inventory settings. Regularly checking your settings and using automated tools can help mitigate these issues.
Yes, popular third-party apps include QuickBooks Connector by Intuit, A2X for Shopify, and other reputable integration tools available on the Shopify and QuickBooks App Stores. These apps can help streamline the integration process and ensure accurate data synchronization.